How To Use a Cricut Explore Air 2? [A Beginner’s Guide]
If you are a beginner, you may wonder how to use a Cricut Explore Air 2 machine. The Cricut Explore Air 2 is a creative cutting machine that can cut, write, and score different materials to create craft projects at home. Cricut has a wide variety of cutting machines available in the market for individual use, each with its own specific uses. Using Cricut Design Space, you can choose from 3,000+ ready-to-create craft projects or create your own.
Want to know more about the features and how the Cricut Explore Air 2 model differs from the previous models? If you’ve an older Cricut Explore Air model, don’t worry. There are a few differences between the Cricut Explore Air models. This article will guide you on how to use a Cricut Explore Air 2 for beginners or anyone who wants to start a small business with a cutting machine.
Let’s get started…….
Unboxing Your Cricut Explore Air 2
Always ensure you are not missing any objects. If something is not included, return the Cricut Explore Air 2 for a quick replacement. Or, if you’ve something extra, well, that’s a good bonus.
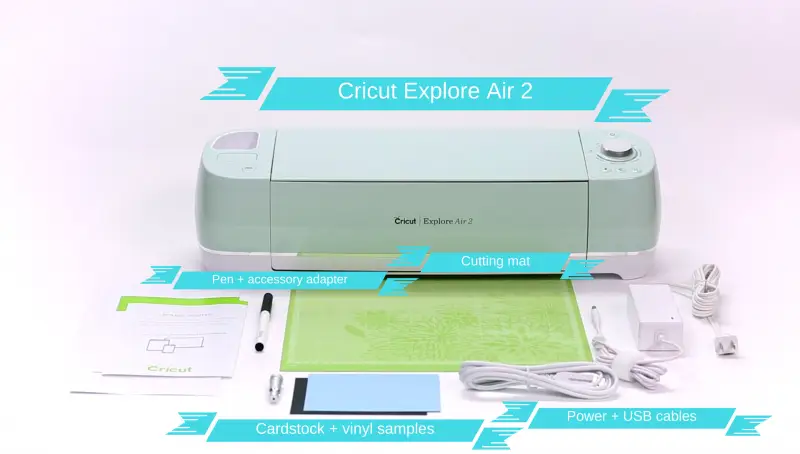
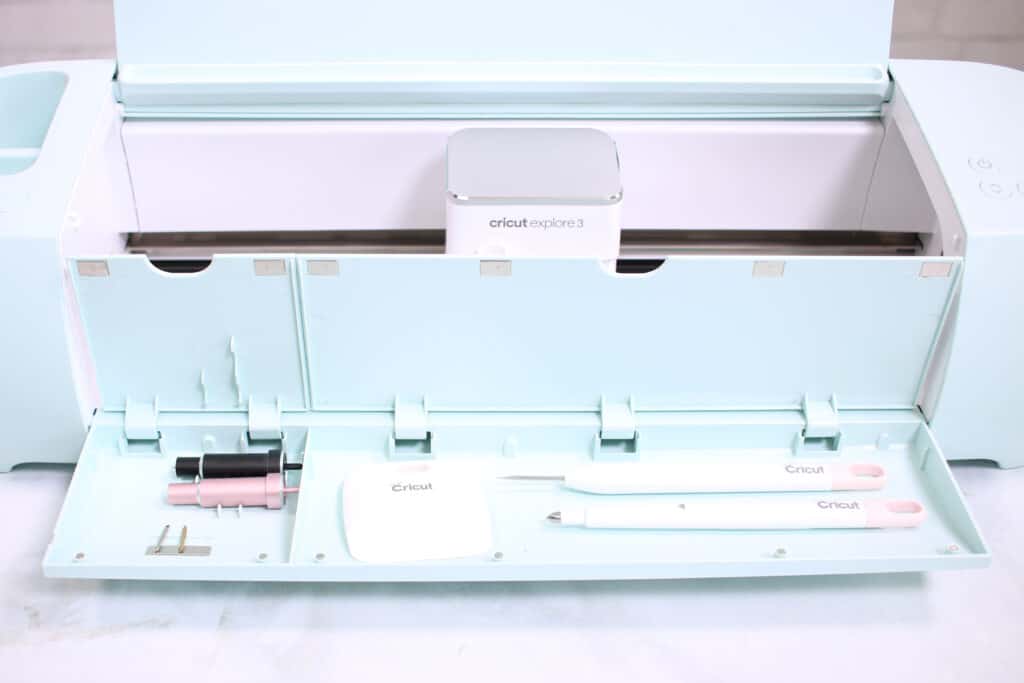
Let’s see; your box should include at least the following:
- Manual (For Instructions).
- Cricut Mat.
- Cricut Blade.
- Cricut Explore Air 2
- Power Adapter + USB Cord.
- Silver Pen + Accessory Adapter.
- Cardstock + Vinyl Samples
Note: There are many different tools available in the market (Premium Vinyl, Starter Kit, Ultimate Kit, Tools Kit, Vinyl Starter Kit), so you may have some extra things to include.
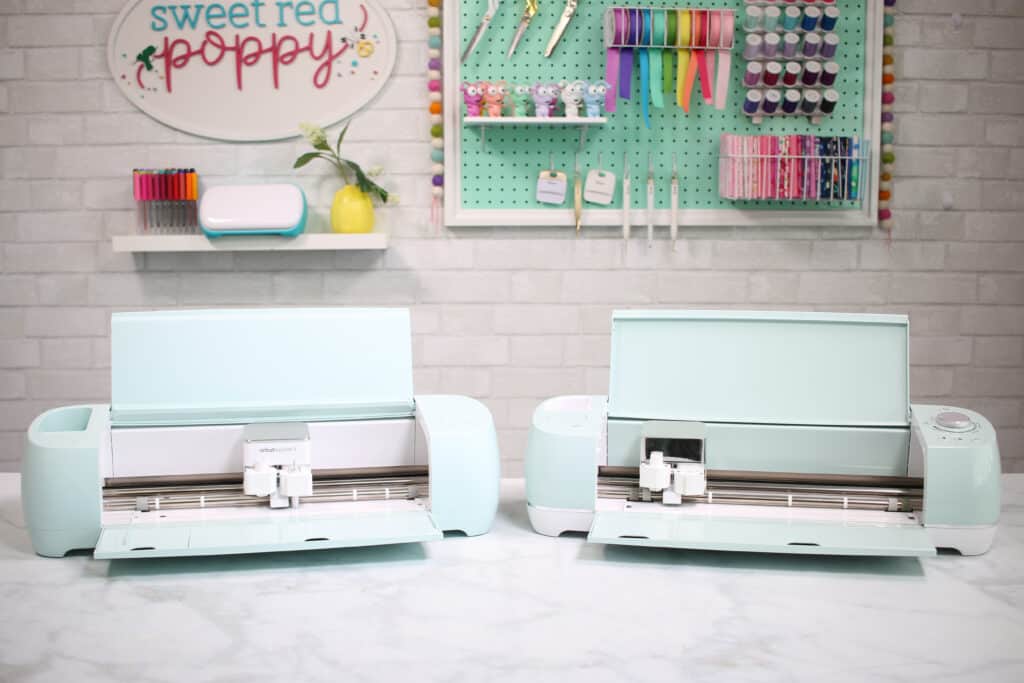
What’s the Major Difference Between a Cricut Explore Air 2 and Explore 3?
While the Cricut Explore Air 2 comes in different colors, the Explore 3 has only one color.
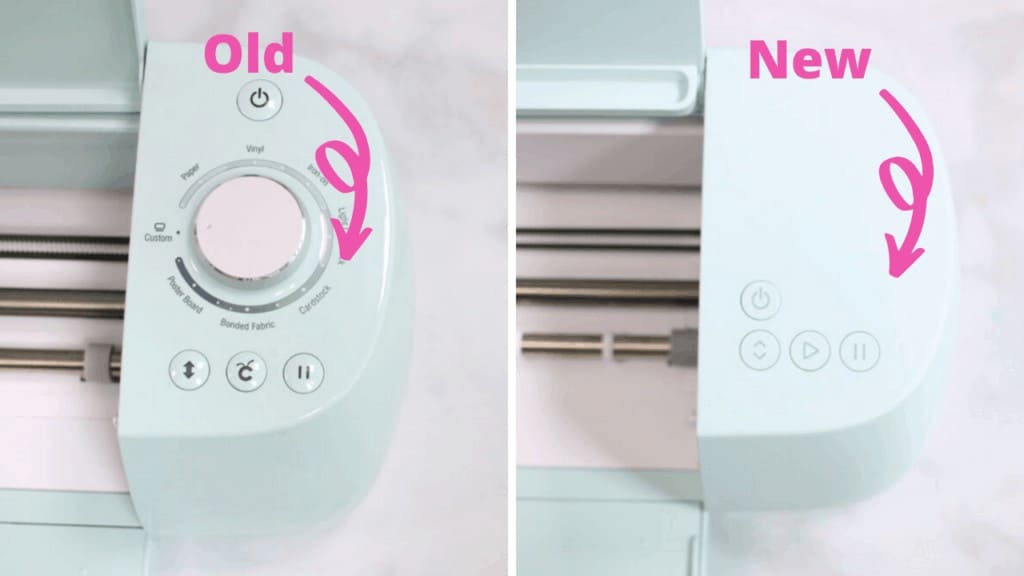
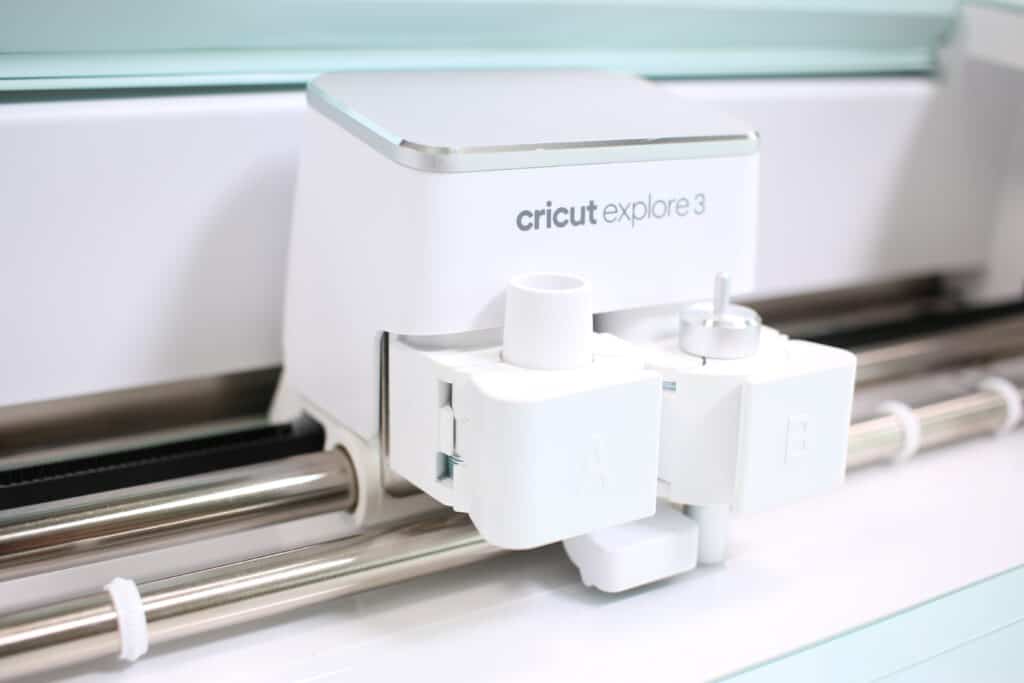
The most noticeable change is that the Explore 3 doesn’t have a material dial or cartridge slot like the Cricut Explore Air 2. You can manually select material in the Cricut Design Space without the dial.
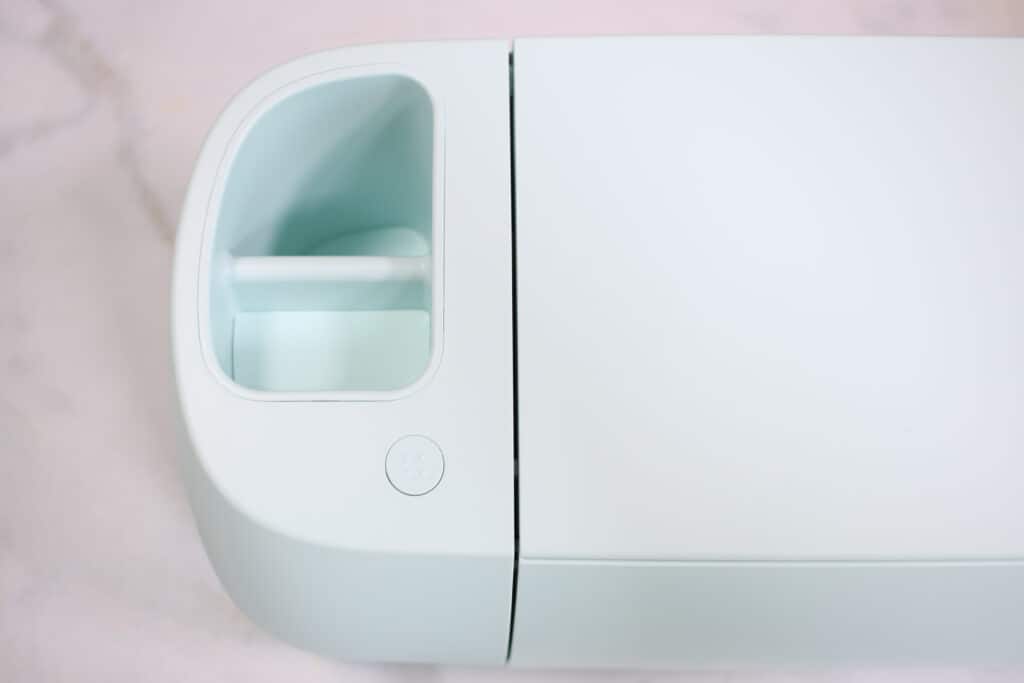
Without the cartridge dial taking up area, Cricut expands the tool storage cup, giving more space for tools and blades.
After this, you can see the cut button is different. The cut button on the Cricut Explore Air 2 is this “C,” but on the Explore 3, it’s a universal start button.
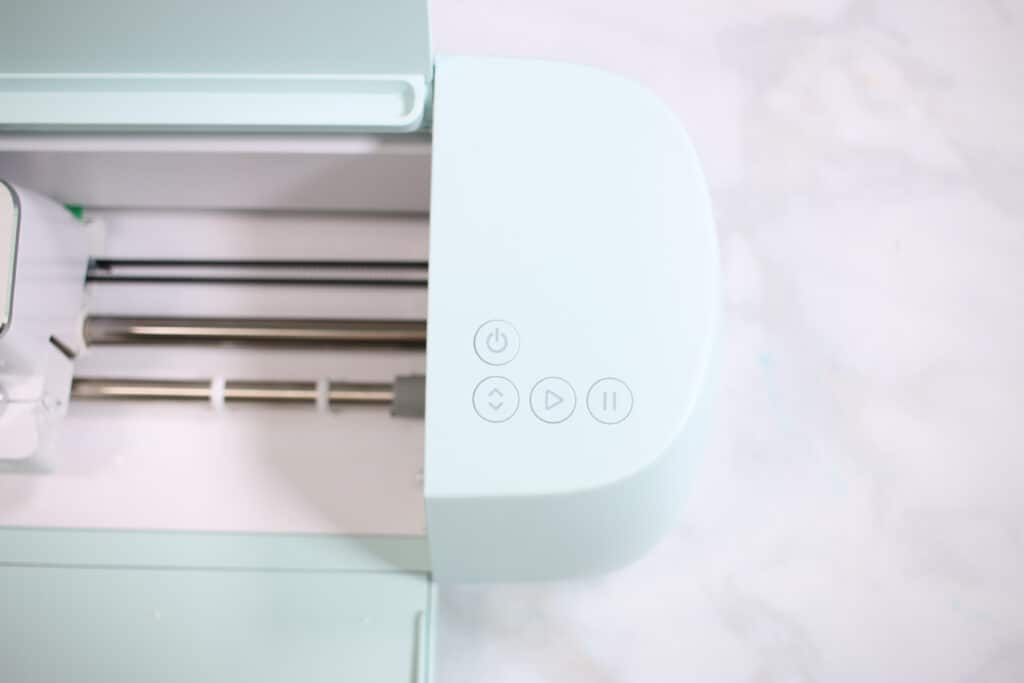
One small upgrade you may have missed is this tiny edge on the Explore 3’s lid. It is created to hold your mobile or tablet while crafting.
Another thing is that the name of the Explore 3 is written on the tool housing. This makes it easy to know which model you’re using.
Both models feature extra storage in their trays.
Lastly, you can see that both models have different textures. The Cricut Explore Air 2 has a shiny top, while the Explore 3 has a textured finish. This stops your machine from containing fingerprints.
How To Connect a Cricut Explore Air 2?
Even the Cricut Explore Air 2 can be used wirelessly; we will start by setting up with a USB cable (wired connection). In order to use a Cricut Explore Air 2, first, you have to connect your Cricut Explore Air 2; follow the steps given below:
- First, plug in your machine while connecting the power adapter and USB cable.
- Next, switch on your Cricut Explore Air 2 and your computer.
- Afterward, go to the Cricut website and register a user account or create your new account and download the latest plugin software.
- Now, run the installer and go to design.cricut.com.
- Lastly, tap on the menu on the top left side and select New Machine Setup. Then, you will be guided through a step-by-step installation procedure.
Cricut Guide: How To Use a Cricut Explore Air 2 For Your First Project?
Wondering how to use a Cricut Explore Air 2 to do craft projects with the sample materials that came with your machine.
On your computer, if you’ve already followed “New Machine Setup,” you should see a design appear on your screen. If you don’t know the design, go to design.cricut.com. Tap on the menu on the top left side and select New Machine Setup.
The included sample: paper, cardstock, cutting mat, and silver pen. If you still have a protective film on your cutting mat, remove it and set it aside for later. It should protect the surface when you are not using it. In order to use a Cricut Explore Air 2, follow the steps provided below:
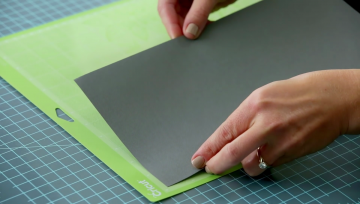
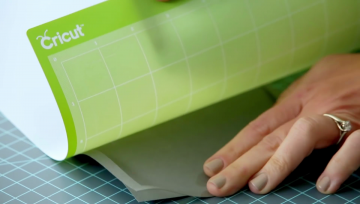
- First, load the cardstock (grey color) onto the cutting mat. Line it vertically on your mat, keeping the textured part facing up. It should be lined up at the top left side, as shown in the picture below.
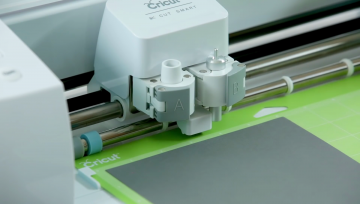
- Next, load the mat into your machine. Lay the mat in line with the mat guide (as shown in the picture below.) Hold the mat firmly in place with the rollers while pressing the “load/unload” button on the top right side of your machine. The icon looks like double arrows.
- After that, insert a silver pen. Open accessory clamp A. Then, remove your pen cap and put it in the tip-down housing until the pen arrow disappears. Now, take the clamp off.
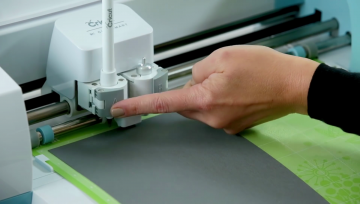
Tip: When cutting the cap, hold the end of your pen so you don’t lose it.
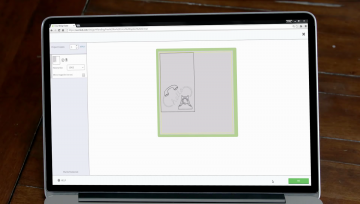
- Then, check out the design on the mat preview screen. Click Go.
- Now, set the dial on your cutting machine to cardstock.
- The “C” button on your machine should be blinking. Click on it to start designing and watch the magic happen.
- Next, take off the mat after completing your project, click the load/unload button, and remove the pen.
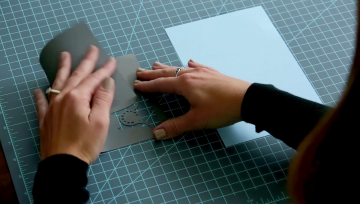
- Now, put your cutting mat face down on a clean surface and curl its edge toward you. The material should peel away from the cutting mat, and as you remove it, keep rolling your mat upwards to make it a little easier.
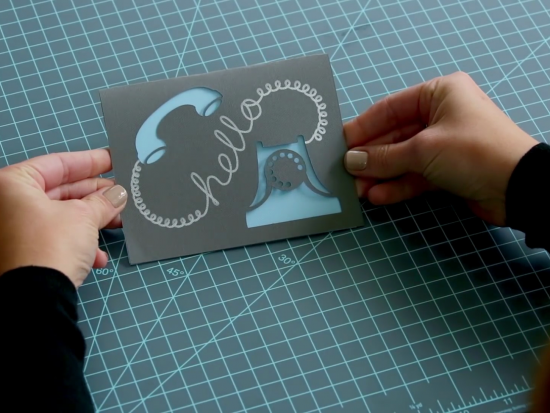
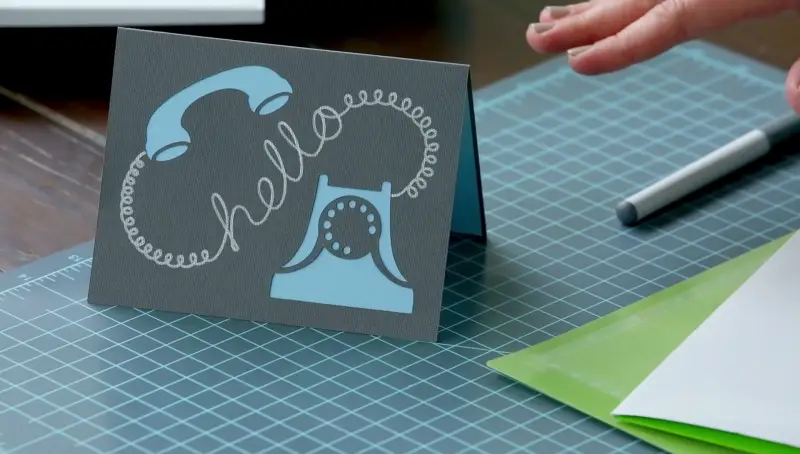
- Lastly, fold your card in half, do the same with your blue paper, and put it inside your gray card. If you want, you can apply glue at this place.
Tada, your finished “Hello Card” should look like this.
So, the above steps are the detailed process on how to use a Cricut Explore Air 2 at home.
Source URL:- https://cricutcomcreate.media/how-to-use-a-cricut-explore-air-2/

Comments
Post a Comment